When we talk about the strength of a metal, one of the most common ways to describe it is by its hardness. This refers to its ability to resist being dented, scratched or permanently deformed. While it’s not the only way to measure mechanical properties, hardness testing is quick, reliable and commonly used.
What Is Hardness?
In materials science, hardness refers to how well a material resists localised plastic deformation or, in other words, how hard it is to make a dent or scratch.
One of the earliest methods for measuring hardness was the Mohs Scale, which ranks materials by their ability to scratch one another. Talc, the softest, is rated 1; diamond, the hardest, is rated 10. If one material can scratch another, it’s harder.
But while this method gives a rough idea, it’s not very precise. That’s why modern testing has evolved into quantitative methods, which provide a numerical hardness value using specialised equipment.
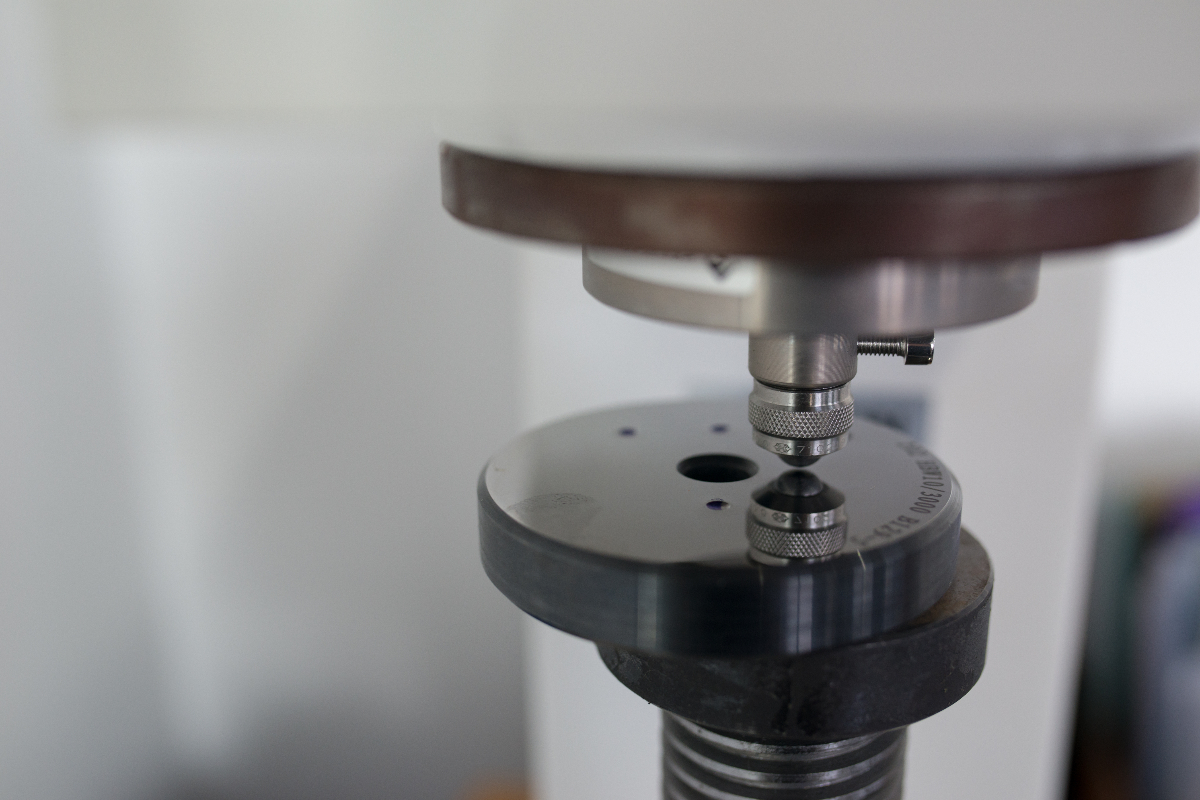
All modern hardness tests follow the same basic idea: a tool presses into the surface of the metal, and the size or depth of the indentation determines how hard the material is. Smaller dents mean harder materials.
Let’s take a look at the three most common types of hardness tests you’ll come across, including those you’ll find on our material certificates here at Columbia Metals.
Rockwell Hardness Test
The Rockwell hardness test is one of the most commonly used methods thanks to its simplicity and speed.
- A small load (called a minor load) is first applied to the material.
- Then, a larger major load is added.
- The machine measures how deep the indentor goes under the load.

The Rockwell hardness is expressed as an arbitrary dimensionless number on a scale and is calculated based on this depth. Different Rockwell scales are used for different materials, depending on their hardness and surface condition. Each scale is identified by a letter, typically HRC or HRB.
- Regular Rockwell uses a 10kg minor load followed by a major load of 60, 100, or 150kg.
- Superficial Rockwell is used for softer or thinner materials and uses lighter loads (3kg minor plus 15, 30 or 45kg major).
Readings below 20 or above 100 on any Rockwell scale are often unreliable. Sample thickness should be at least 10x the indentation depth and at least three indentation diameters should be allowed for between the test indentation and sample edge or any other indentations.
Brinell Hardness Test
The Brinell test uses a 10mm steel or tungsten carbide ball to press into the surface of the metal.
- The force applied ranges from 500kg to 3000kg.
- After the test, the size of the round dent is measured under a microscope.
- The Brinell Hardness Number (BHN) is then calculated based on the dent size and the load used.
This method is especially useful for softer metals and larger components like round bars. It requires less surface preparation and gives a good average hardness reading across uneven surfaces.
Similar considerations to the Rockwell hardness test should be given to sample thickness and indentation spacing.
Vickers Hardness Test
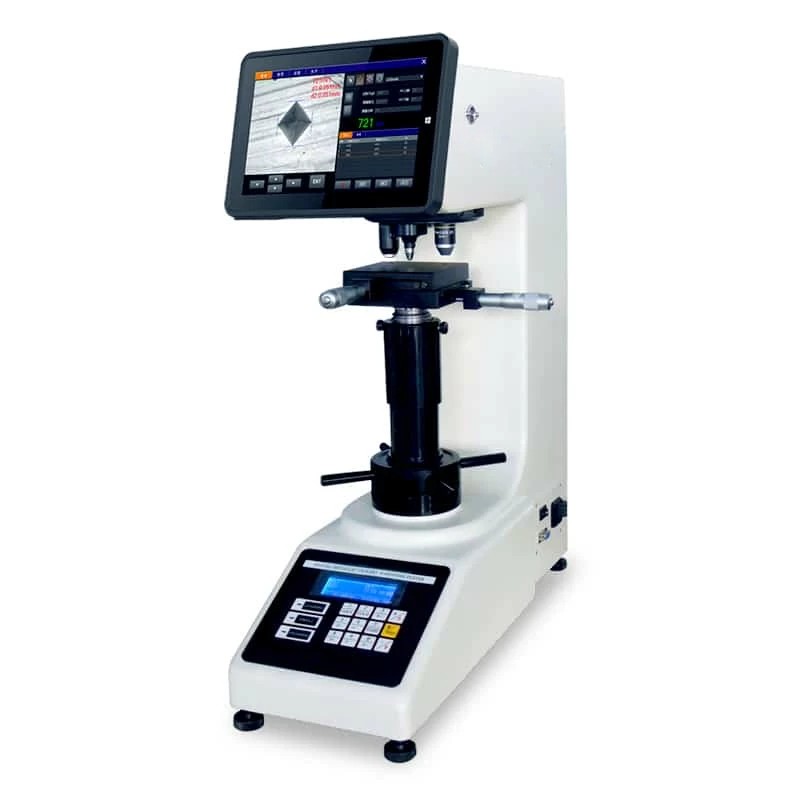
The Vickers test uses a diamond-shaped (pyramidal) indentor, making it ideal for measuring very small or precise areas.
- Loads range from 1g to 1000g.
- After the indentation is made, it’s measured under a microscope.
- A Vickers Hardness Number (VHN) is calculated using standard charts based on the applied load.
This method is particularly useful for very thin materials, surface-hardened parts (such as case-hardened gears) and detailed hardness mapping across a surface. However, the test does require a very smooth, polished surface to ensure an accurate reading.

Practical Value of Hardness Testing
Hardness testing gives a quick, reliable insight into a metal’s strength and how it might perform in real-world applications. At Columbia Metals, we use all three methods – Rockwell, Brinell and Vickers – depending on the material type, standards required and customer specifications.
Whether you’re working in engineering, manufacturing or procurement, understanding these hardness values helps ensure you’re choosing the right material for the job.


